

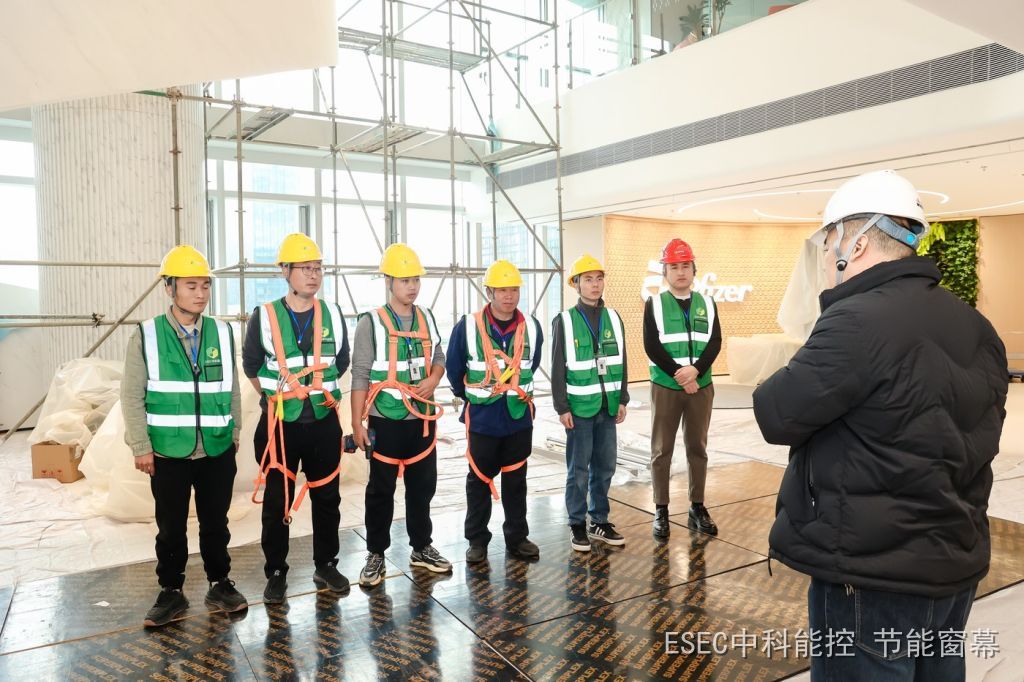
Replacing a broken curtain wall panel sounds straightforward: measure the opening, order a new pane, fit it. In the industry, however, panel replacement is known as one of the most demanding jobs — not because of the screws, but because a single panel travels a long chain from order to acceptance, and every link has its own lead time, its own weather window and its own acceptance criteria. This article walks the chain in five stages: fabricating, removing, installing, sealing and curing — and ends with the question of when the glass does not need replacing at all.
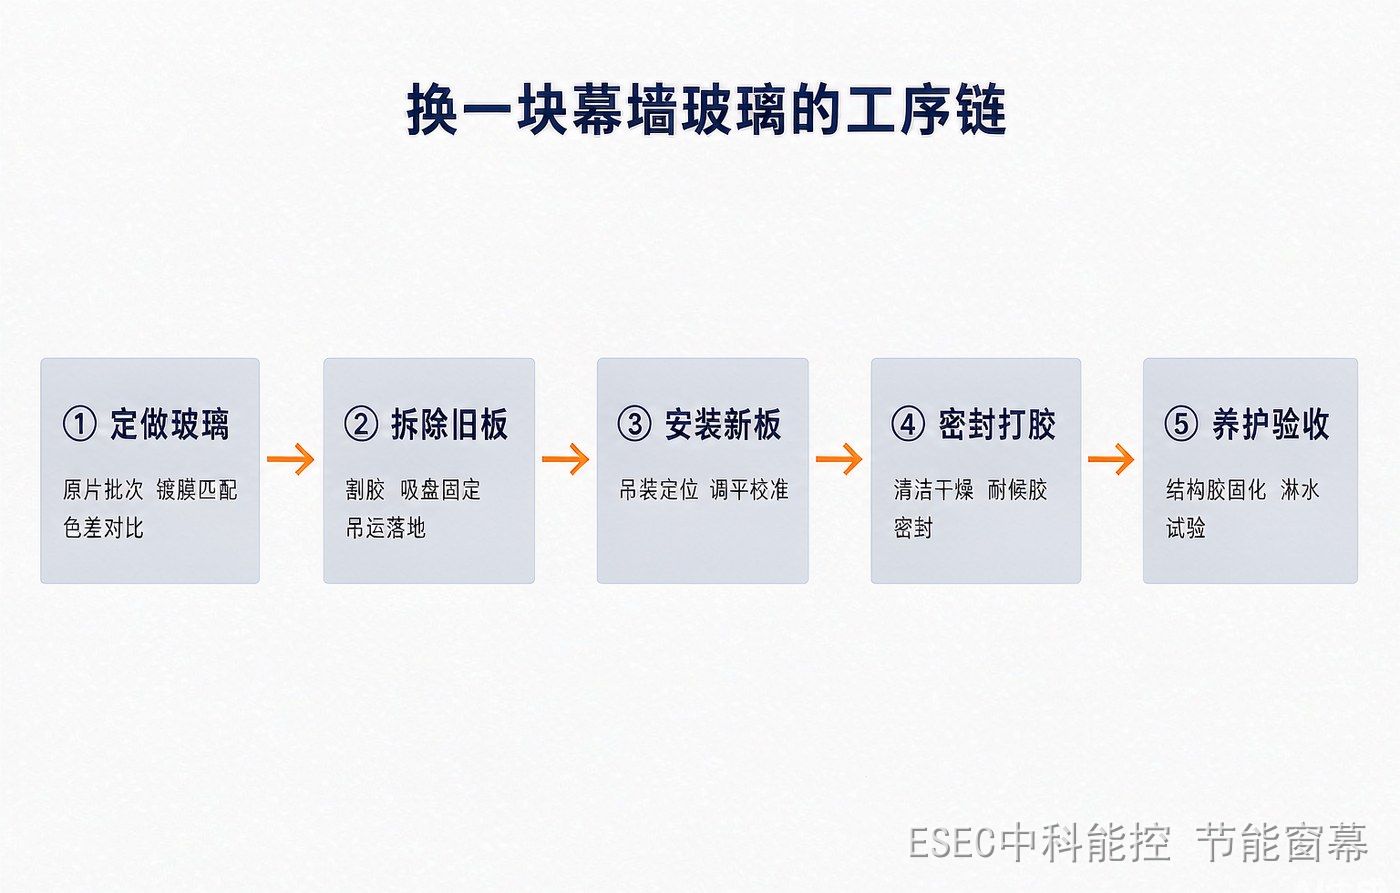
Five stages of curtain wall glass replacement: fabricate, remove, install, seal, cure and test
Stage 1: Fabricate a Pane That Looks Like the Original
The first domino falls not on site but at the glass factory. The new panel’s first test is not strength but appearance — the facade must still read as one uniform wall, and a fresh pane that is visibly bluer or greener than its neighbours draws more attention than a broken one ever did.
The difficulty is that glass “colour” cannot be locked in by a model name:
- Batch variation in the base glass. Trace iron-content differences between float-glass melt batches shift visible light transmission slightly; coating-thickness deviations leave bands in the reflected colour. The industry quantifies colour difference as ΔE, with the visually indistinguishable level typically around 1.5 or below.
- The original glass has aged. Years of UV exposure and soiling change the old panels’ appearance. A new pane built to the original specification may not match the aged neighbours — some projects deliberately re-tune the new glass parameters toward the aged state.
- Coating orientation must not be reversed. The position of the Low-E coating directly affects reflected colour and thermal performance; the coated face must sit inside the cavity, as in the original design.
So the first stage is often the slowest: locating the original supplier, matching batches, sending samples, producing trial panes and comparing them under standard light sources and on site. The industry has seen projects where a supplier could not reproduce the coating colour for a patch panel, and the owner — weighing the alternatives — simply replaced the entire facade. Small-quantity patch orders carry long scheduling queues precisely because matching costs are high; the wait for glass frequently exceeds the site work itself.
Stage 2: Take the Old Panel Down, Whole and Safe
Removal happens on an exterior working face, and the governing conflict is simple: the panel is heavy and brittle, and there are people below.
The method depends on the system. In framed (visible-cap) walls, the pressure plates are released and the sealant cut. In structural-glazed (hidden-cap) walls — the hardest case — the panel is bonded to its sub-frame with structural silicone: the joint is cut with a knife without scoring the aluminium, the whole panel is held by vacuum suction lifters and eased off the frame, then lowered to the ground. In point-fixed (spider-fitting) walls, temporary supports come first and the fittings are released one by one. A shattered panel is cleared piece by piece into dedicated containers; fragments must never simply fall from height.
Removal is not the end: old sealant must be cleared from the frame, corrosion repaired, and the humble consumables — setting blocks, backer rods — reinstated to specification. They decide whether the new panel seats true and seals tight.
Stage 3: Set the New Panel — Mechanics First, Silicone Second
Once hoisted into position, the panel is aligned and levelled: horizontal and vertical tolerances and the step between adjacent panes all have quantified limits, and joints must read even. Glass never touches the frame directly — elastic setting blocks and edge clearances leave room for thermal movement and prevent stress concentration.
Fixing runs on two tracks. Mechanical fixing — pressure plates or bolt fittings — completes on the spot. Structural bonding on hidden-cap walls becomes the next stage’s main event. The exterior joints are sealed with weatherproofing silicone: backer rod in the joint, substrate wiped and fully dry, bead continuous, full, bubble-free. And the weather is a gate: damp substrates, rain and low temperatures are all poor sealing conditions — deadlines do not waive that window.
Stage 4: Curing — the Quietest, Least Rushable Step
With the bead struck, the job looks finished. It is not. Silicone structural sealant needs a full curing period to reach design strength: by common industry practice, two-part structural silicone cures for roughly a week or more, one-part silicone two weeks or longer, during which the panel must take no load, no impact and no disturbance; some projects keep continuous temperature and humidity records of the curing environment.
Only after curing comes the last gate: acceptance. Beyond visual checks — even, bubble-free joints, no visible colour difference or step between panes — a site water test is normally performed: the replaced area is sprayed continuously, and the interior side must stay dry. What was replaced is a pane of glass; what is accepted is the system of glass, sealant and frame.
What the Bill Is Made Of
The cost of a panel replacement usually reduces to four blocks:
- The glass itself: size, thickness, laminated or not, Low-E or not — plus the matching cost described above;
- Access: gondolas, rope access or the building’s BMU — the higher and tighter the site, the larger the access share;
- Labour and removal: taking out, carting away, cleaning old sealant, repairing frames;
- Sealants and consumables: weather and structural silicone, blocks, rods.
Actual figures vary widely with height, panel specification and site conditions — request quotations. But the directional patterns are stable: patch quantities price higher per panel than batch work (fixed matching and mobilisation costs cannot be spread thin), supertall and night work lift the price, and replacing the glass but not the joint is a false economy — old sealant left in place and beads struck into empty joints are the most common cause of leaks after replacement.
After the Chain: Some “Replace the Glass” Needs Do Not Need Replacing
Read end to end, the cost structure of replacement becomes clear: money goes into the glass, time goes into matching and curing, and risk goes into the exterior working face. Which is exactly why the decision of whether a panel should be replaced deserves so much care.
Two situations leave no room for alternatives. One is safety — spontaneous breakage, cracking, structural sealant failure: these are safety rectifications, and no measure substitutes for replacement (a previous article covered tempered-glass spontaneous breakage, where the answer inevitably runs through panel replacement). The other is sealing — fogging inside an insulated glass unit means the panel itself has failed and must be replaced.
But the most common case is different: the glass is perfectly sound, and what the owner wants to change is thermal performance — west-facing heat, a cold window edge, a high air-conditioning bill. Replacing the glass for this walks the entire chain above — waiting for the pane, the gondola, the silicone, the cure. The alternative route is not touching the glass: fitting a heat-insulating transparent shading screen on the interior side. In summer it reflects solar heat before it enters the room; in winter it adds a layer of thermal resistance inside the glass. Retracted by day, lowered at night. No exterior access, no structural silicone cure period, no change to the facade, usable as soon as installed.
It is not a substitute for replacement — replacement answers “the glass itself is broken or below standard”, while the screen answers “the glass is fine but the thermal performance is not”. Telling the two needs apart can save the whole chain of cost and time. The order of questions is simple: is the glass damaged (damaged = safety line, replace it); is the problem heat or cold (sound glass = energy line, interior-side first); does the window leak air (draughts first — check hardware and seals; added screens do not stop them).
FAQ
How long does one curtain wall panel replacement take?
Site removal, installation and sealing run in days, but the total schedule includes fabrication matching and structural silicone curing: patch-quantity glass production is often quoted in weeks, full silicone cure adds one to two weeks or more, and the water test follows the cure. A complete cycle of several weeks to a month or more is not unusual.
What if the new glass does not match the old in colour?
Colour difference stems from base-glass batch and coating variation and is hard to eliminate entirely. Provide the original pane as a sample for colour matching and trial panes, compare under multiple light conditions and angles, and consider ageing-matched parameters for the new glass; where many panels on one elevation are involved, replacing the whole elevation is the surest way to remove visible differences.
Can structural-glazed (hidden-cap) panels be replaced at all?
Yes, with the highest process demands: the bond must be cut, the panel lifted whole by suction, the sub-frame cleaned and compatibility-treated, the panel re-bonded with structural silicone and given the full curing period. Only qualified curtain wall contractors should do it, and ordinary adhesive is no substitute for structural silicone.
The glass is sound — only west-sun heat and a cold window edge. Must the glass be replaced?
No. Thermal performance has several routes: replacement is the most thorough but the longest chain; with sound glass, an interior-side insulating screen reduces summer heat gain and supplements winter insulation without touching the glass, the facade or any curing schedule. The two routes suit different building states and budgets and are not mutually exclusive.
About Zhongke Nengkong: Zhongke Nengkong (Beijing) Technology Co., Ltd. develops heat-insulating transparent shading screens for building glazing: reflecting solar heat in summer with 88% heat insulation, 95%+ infrared and 99% UV blocking; adding a thermal resistance layer indoors in winter to reduce heat loss and lift the inner glass surface temperature. The fabric achieves class B1 fire performance, retracting by day and lowering at night, suitable for interior-side energy retrofitting of residential and public buildings — when the glass is sound and only the thermal performance lags, the whole replacement chain can stay untouched.